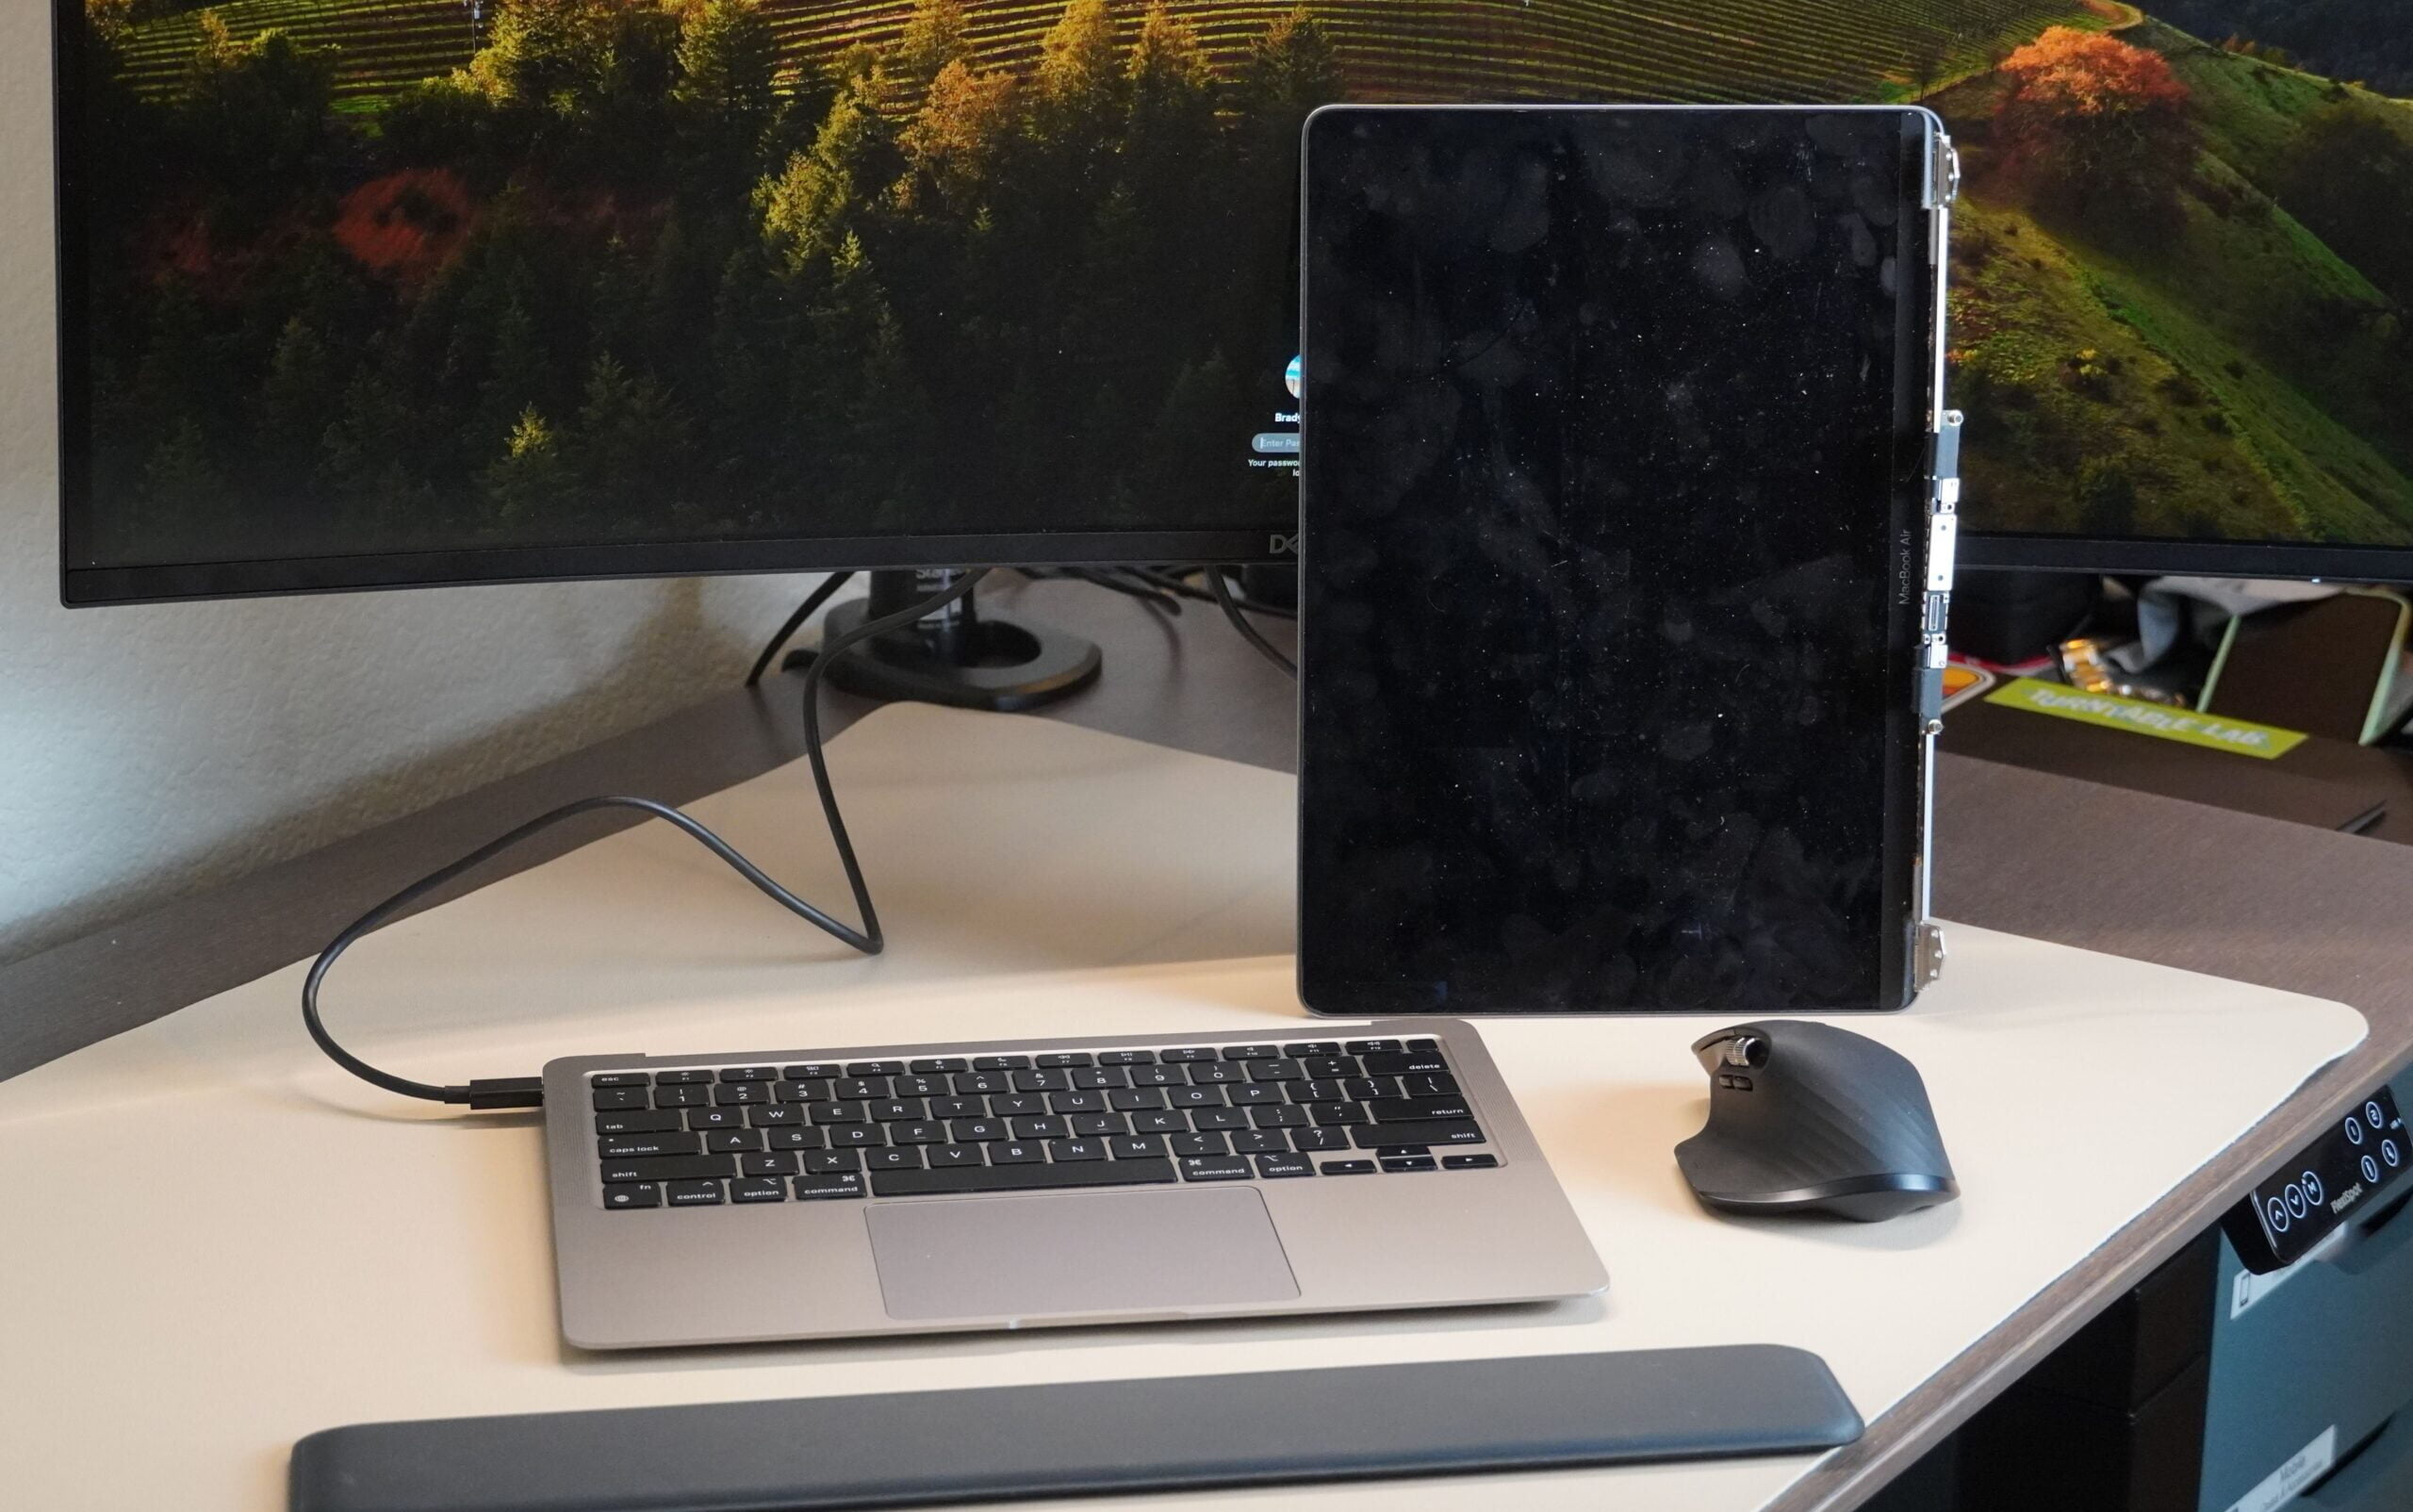
You can buy a broken M1 MacBook Air for under $200 and use it as a desktop Mac by removing the screen. “Headless” MacBooks are a way to use Apple laptops with external monitors or Apple Vision Pro without the hassle of a screen.
The removal process is quick and easy and takes about 30 minutes with the right tools. The best laptops are more powerful than ever, and that means most people won’t need a desktop in 2024. Connecting a laptop to an external monitor, a docking station, and a good set of peripherals will get the job done equally well or better. than having a dedicated desktop PC.
But what if you only want to use your laptop, specifically a MacBook, with external monitors? In that case, the screen only gets in the way. Enter the wonderful world of “headless” MacBooks. In other words, laptops with screens torn off. Surprisingly, there are a handful of reasonable situations where it makes sense to remove your MacBook’s screen, but the biggest and most obvious one is when the screen is broken or cracked.
For people with a broken MacBook screen, a common idea is to use their laptop in what is known as clamshell mode. With the lid closed and power connected, a MacBook can stream macOS to an external monitor for use like any other desktop Mac. However, in this scenario, you will not be able to use the MacBook’s built-in keyboard and trackpad. Keeping the cracked screen there is just a constant reminder that your MacBook is a shell of its former self and offers no value. So instead of buying a new laptop or paying for an expensive repair, you can remove the screen and turn your MacBook into a unique computer.

Apple discontinued the M1 MacBook Air, only for Walmart to quickly revive it. Now, there is a budget MacBook on the market.
Ready for the crazy part? You shouldn’t just make a headless MacBook if you have a broken one; You should go out and buy one. An M1 MacBook Air with a broken screen can be purchased on eBay for less than $200, and I bought one for around $140. There were a handful of similar listings for cracked M1 MacBook Airs for around the same price, which is crazy if you think about it. Getting an M1-based computer for less than the price of a pair of headphones or earphones is a bargain. I did just that and the results were amazing.
MacBook screens are expensive
It’s often better to buy a new MacBook if your screen breaks
By now, you’re probably wondering why I didn’t just decide to buy a replacement MacBook Air screen and fix the broken laptop. The main reason is cost because it doesn’t make any financial sense to repair the screen on an M1 MacBook Air. Whether you get a new screen from Apple’s self-service repair store or buy a used one from iFixit, it will cost you around $400. That excludes the tools you need if you don’t already have them. I needed a screwdriver with Pentalobe and Torx bits, plus a spudger and tweezers, to make my MacBook Air headless. I had all of these on hand, but having to buy or rent them will increase the total repair cost.
Regardless of whether you need to buy tools or not, MacBook Air repair is still not cost-effective. I paid about $140 for the broken laptop, so purchasing a replacement screen would bring my total expenses to $540 for a like-new M1 MacBook Air. That computer won’t be worth as much in 2024. You can buy a refurbished, working M1 MacBook Air for $400 online right now, the same as you’d spend on a replacement screen alone. The person I bought this laptop from ended up simply upgrading to a new M2 MacBook Air instead of spending time and money on a replacement, and that’s probably what I would have done.
Spatial computing might be the future, but the Apple Vision Pro is more of a proof of concept in its current state than a product people should buy.
But I took on this project because I specifically wanted a headless MacBook Air. You see, one of the best features of the Apple Vision Pro is the ability to use a nearby MacBook in virtual reality using a feature called Mac Virtual Display. When you’re in this mode, your MacBook’s built-in display turns off, so there’s no point in it being there. Additionally, the screen adds extra weight and heaviness to the MacBook, which is not ideal if you want to use it while lying down. So, inspired by YouTuber Luke Miani, who was the first to undertake this project, I began my quest to create a $140 headless MacBook.
Making a ‘headless’ MacBook costs nothing
About 30 minutes and the right tools are all you need
I’m pretty comfortable working with laptops and other small electronic devices, especially Apple ones. But to get a good idea of the time and knowledge required to complete a repair or project, I always review the difficulty rating and time estimates in an iFixit repair guide. The process of removing and replacing the screen on an M1 MacBook Air was supposed to take between half an hour and a full hour, which didn’t seem too bad. If you have experience working in tech, iFixit’s estimates are spot on: I finished removing the screen in just over 30 minutes.
In general, the process is super simple. You’ll want to turn off the MacBook you’re using and close it immediately because accidentally pressing a key, or trackpad, or opening the hinge could trigger the auto-start feature. Removing 10 pentalobe screws of varying lengths reveals the MacBook Air’s internal parts, which are mostly battery cells. Disconnecting the battery is the first important step in any laptop repair guide, and that’s the case here. The logic board is in the upper right corner of the chassis and is small. All that remains is to carefully disconnect the antennas from the MacBook, remove the antenna bar, and remove the hinge screws.
To remove the screen, you will have to lift the top case and place the laptop open at a 90-degree angle. Then, pushing the display assembly out of the top case should separate the two halves of your MacBook. However, if the MacBook you are using has been dropped, warped or bent aluminum could make the process more difficult. I had to fight with it for a few minutes, but I finally managed to get the screen assembly out of the top case. After that, following the steps in reverse gave me a headless MacBook.
It is much better than clamshell mode.
You can still use your MacBook’s keyboard, trackpad, and ports
Using the headless MacBook Air somehow exceeded the high expectations I already had for this project. The keyboard and trackpad included on the M1 MacBook Air are very good, and Apple’s trackpads specifically are great for productivity.
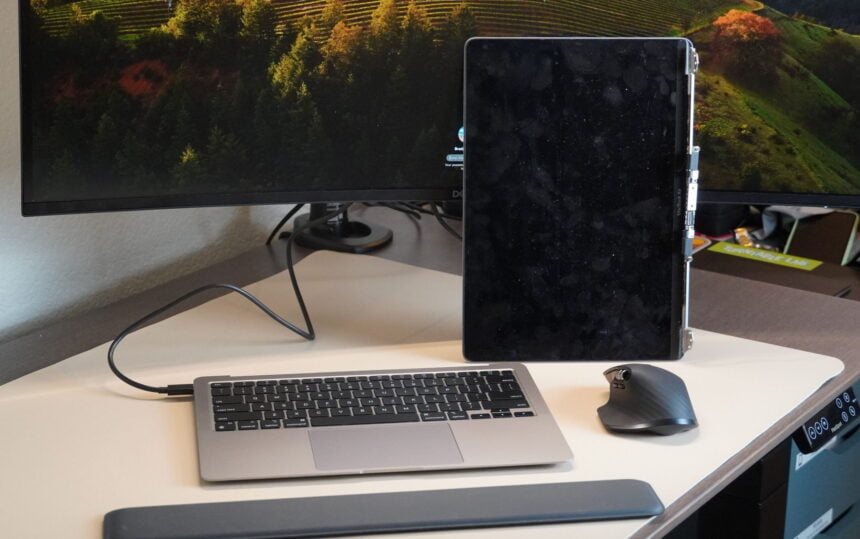
I connected a single Thunderbolt cable from the Dell UltraSharp 34 ultrawide monitor to the MacBook Air, and using the integrated keyboard and trackpad, that was all I needed. There were no broken screens, USB hubs, or peripherals in sight. This setup replaced my M2 Mac mini and Logitech peripherals for the time being, and I didn’t miss them at all. The headless MacBook Air did the job and in some ways provided a simpler user experience than a desktop computer.
Dell brings it all together with the UltraSharp 34 Thunderbolt, creating a “super monitor” for productivity.
For $110 less than what I paid for my pair of AirPods Pro 2, I got a working Apple Silicon computer, and that’s a steal. It’s not surprising that this headless MacBook Air works so well if you think about it. At its core, this laptop is still an M1 MacBook Air, which was one of the best-value Apple laptops at its launch. It has an M1 chip, is compatible with the latest version of macOS Sonoma, and features a timeless design. If you like cheap, powerful computers, consider joining me in the headless MacBook revolution.
Keynote USA News
For Latest Apple News. Follow @Keynote USA News on Twitter Or Google News.


